
Vancouver tour - 2022
This year we finally made some time and spent the time going through some of our favorite projects that we hadn’t seen since completion. It’s so nice to see these spaces filled out and properly utilized. Below are some photos.
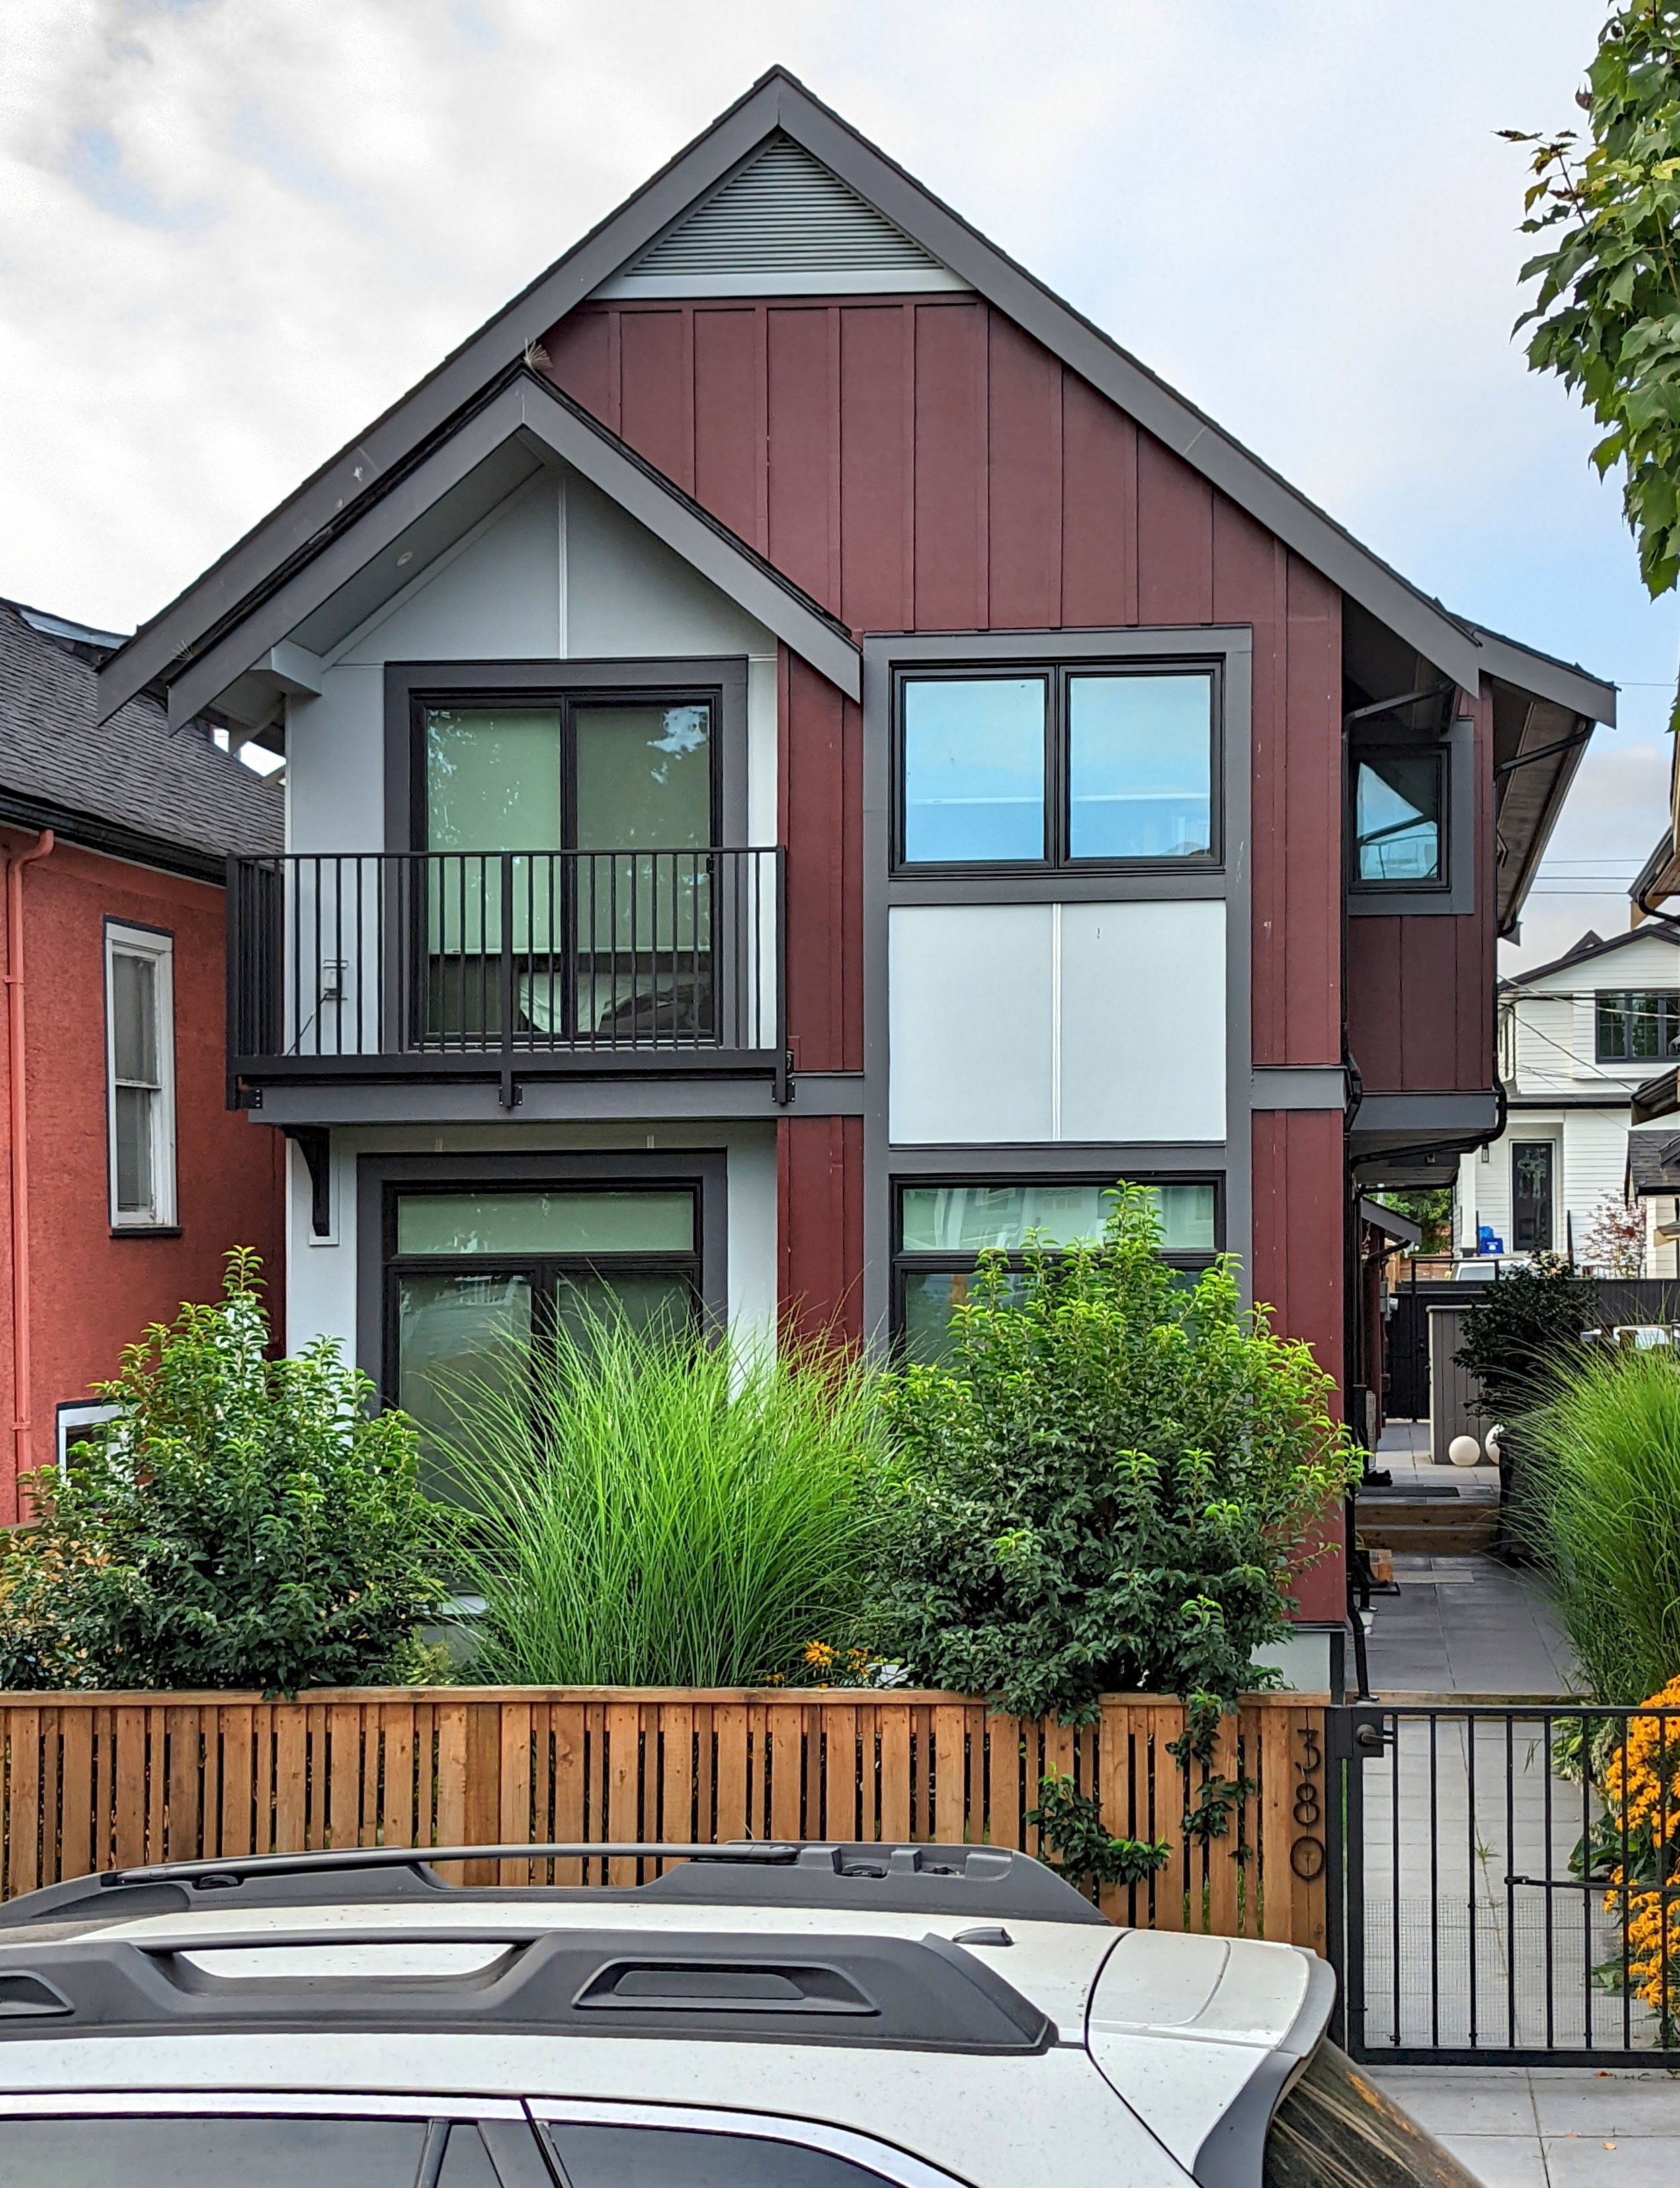
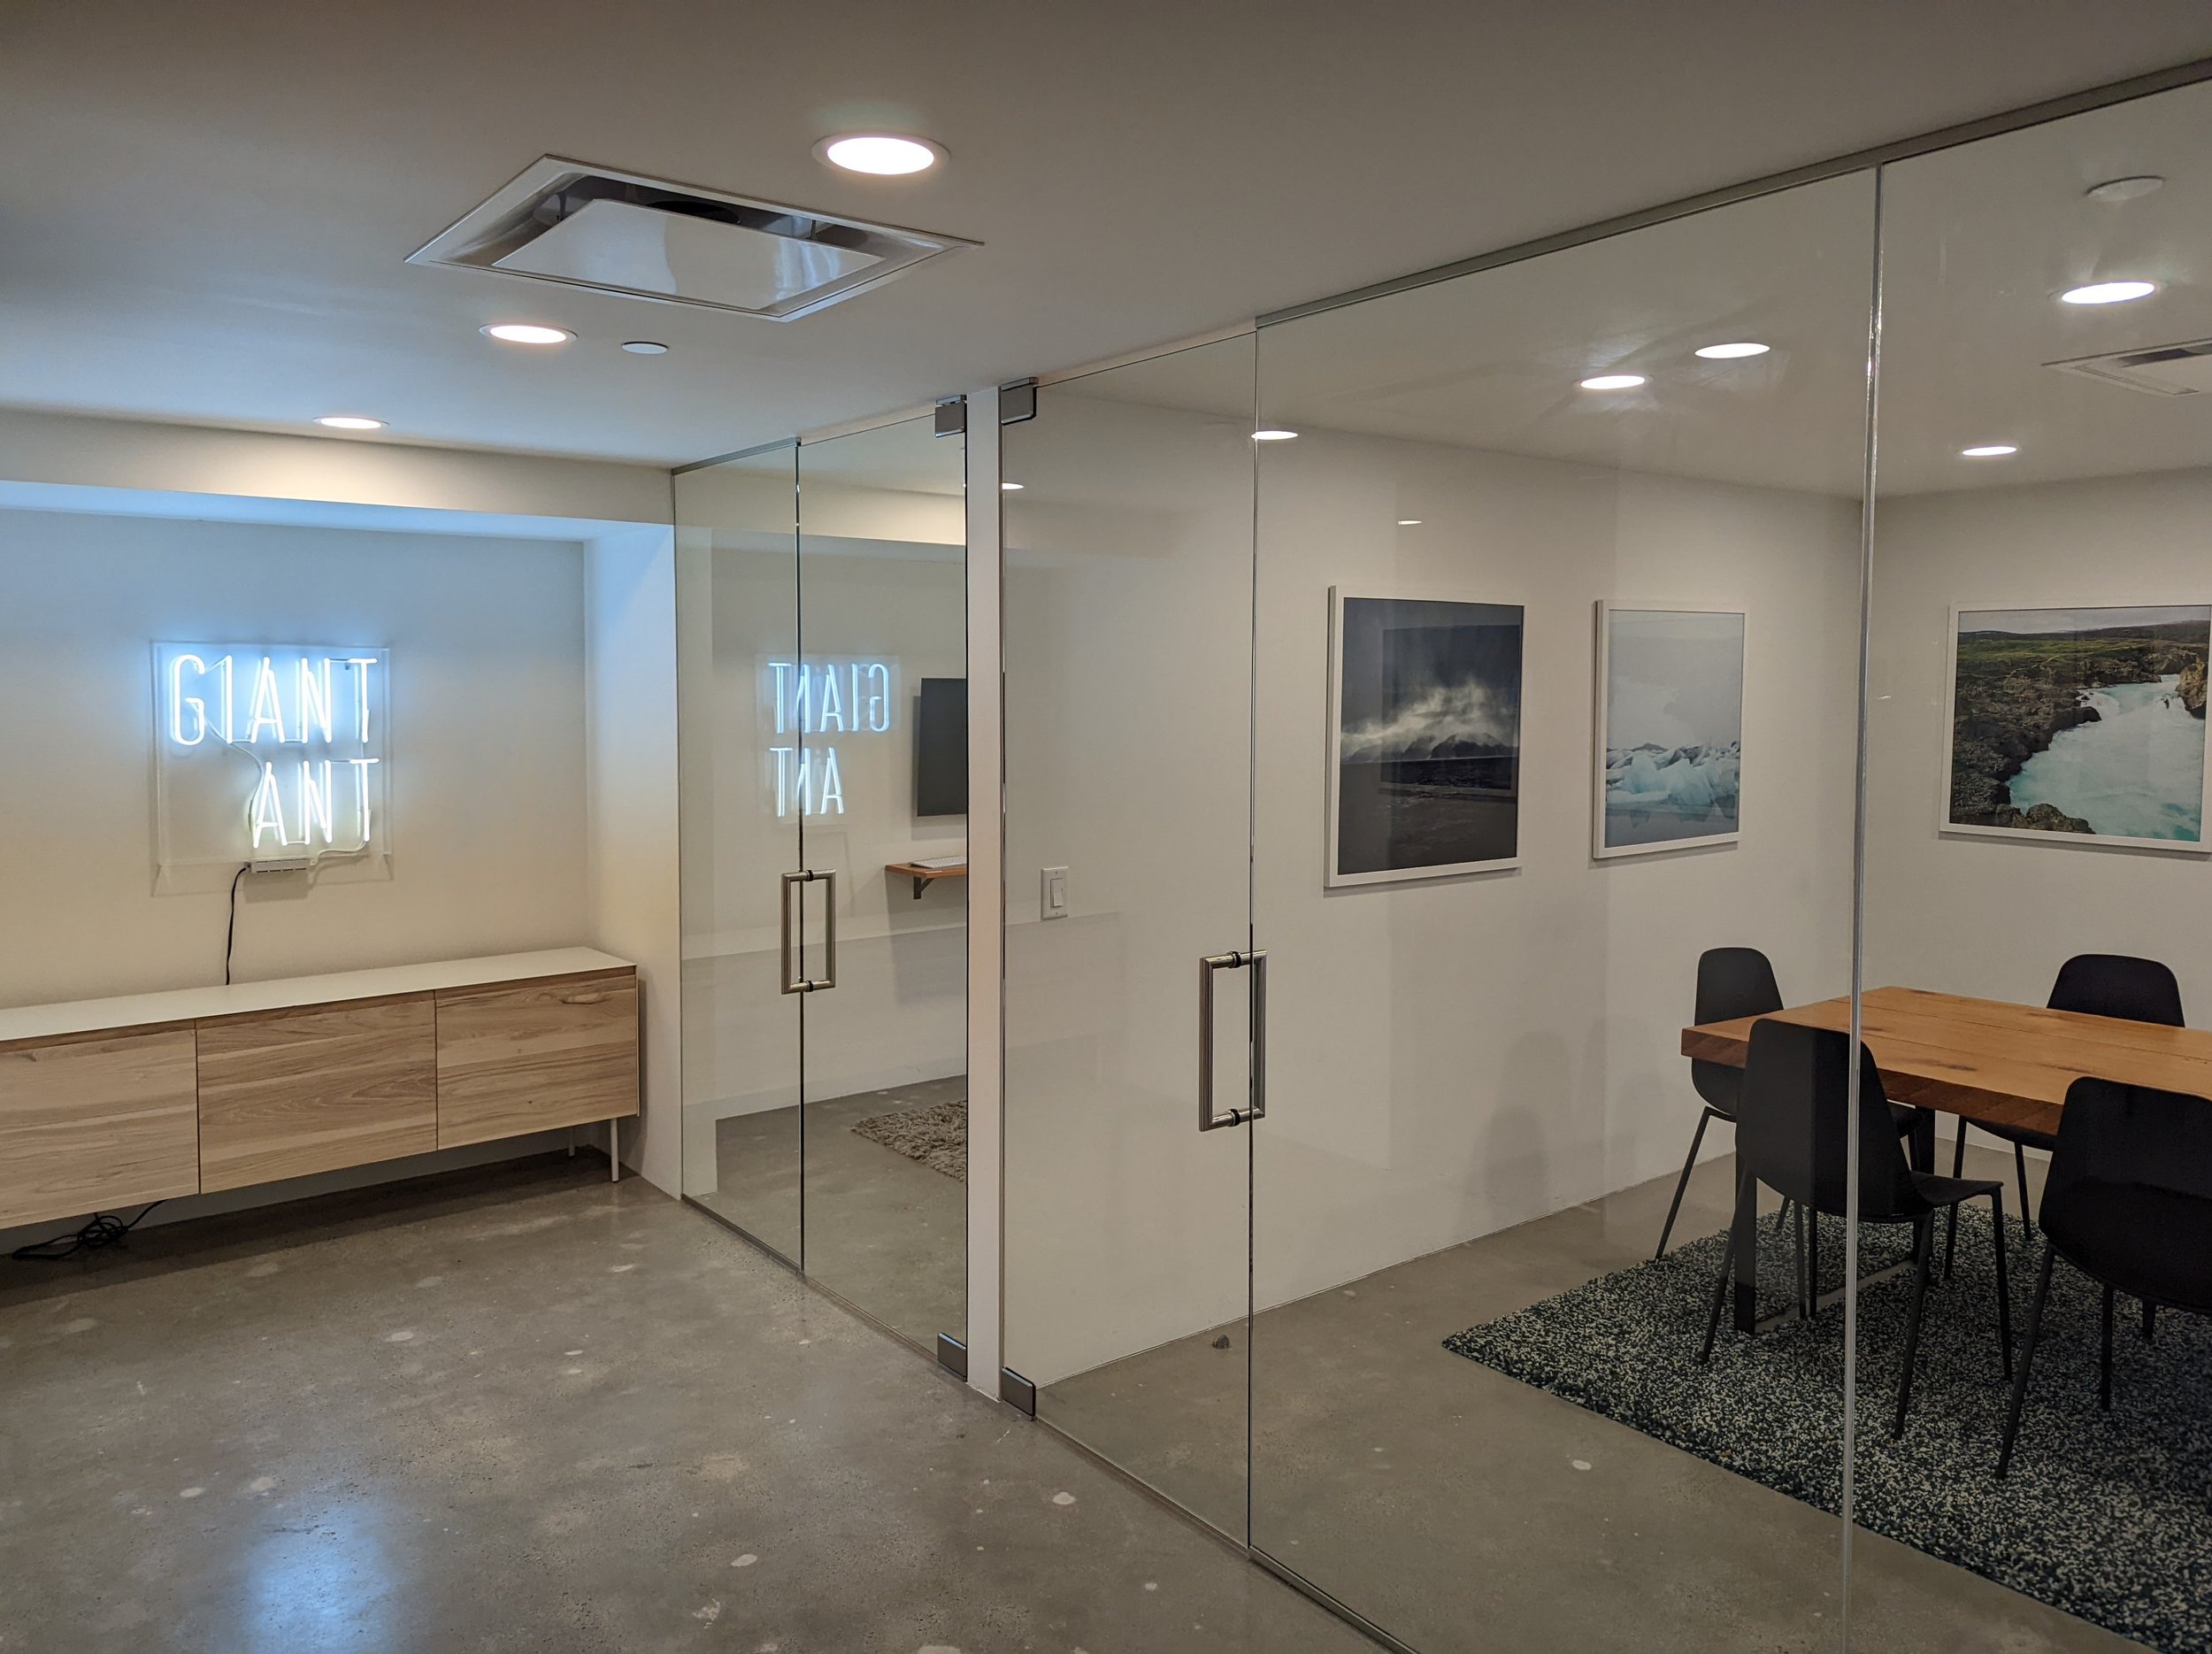

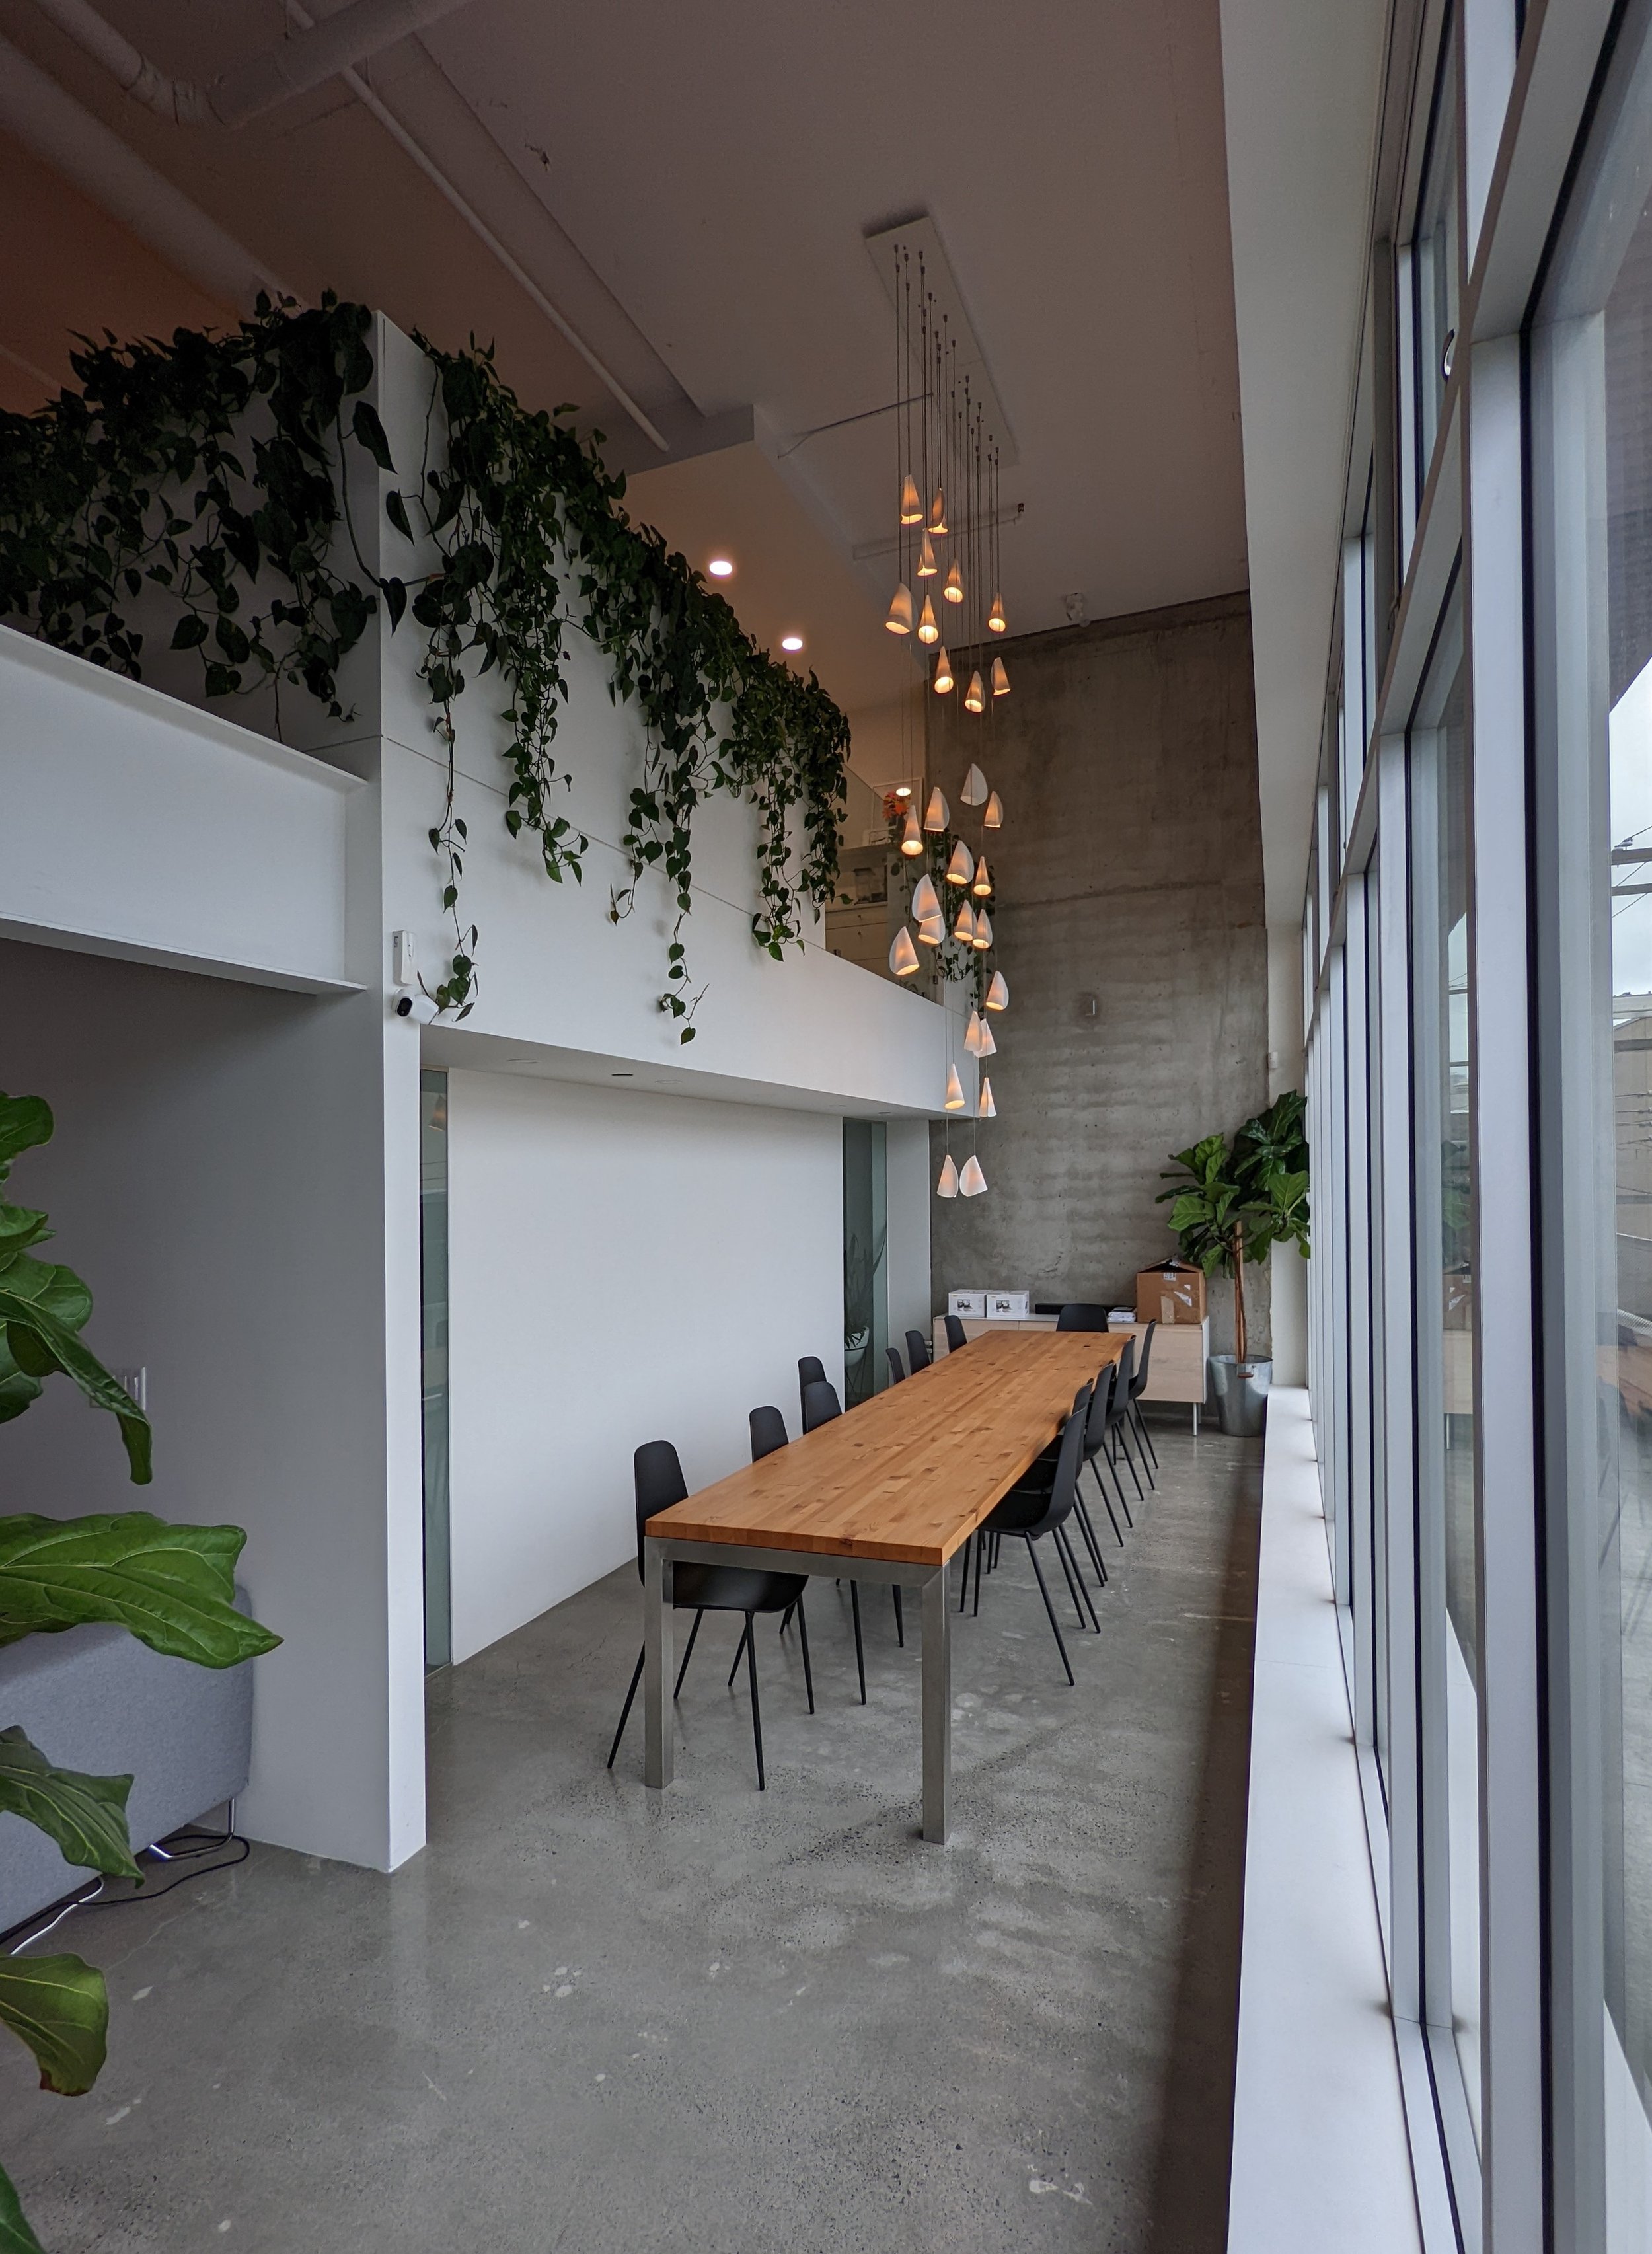
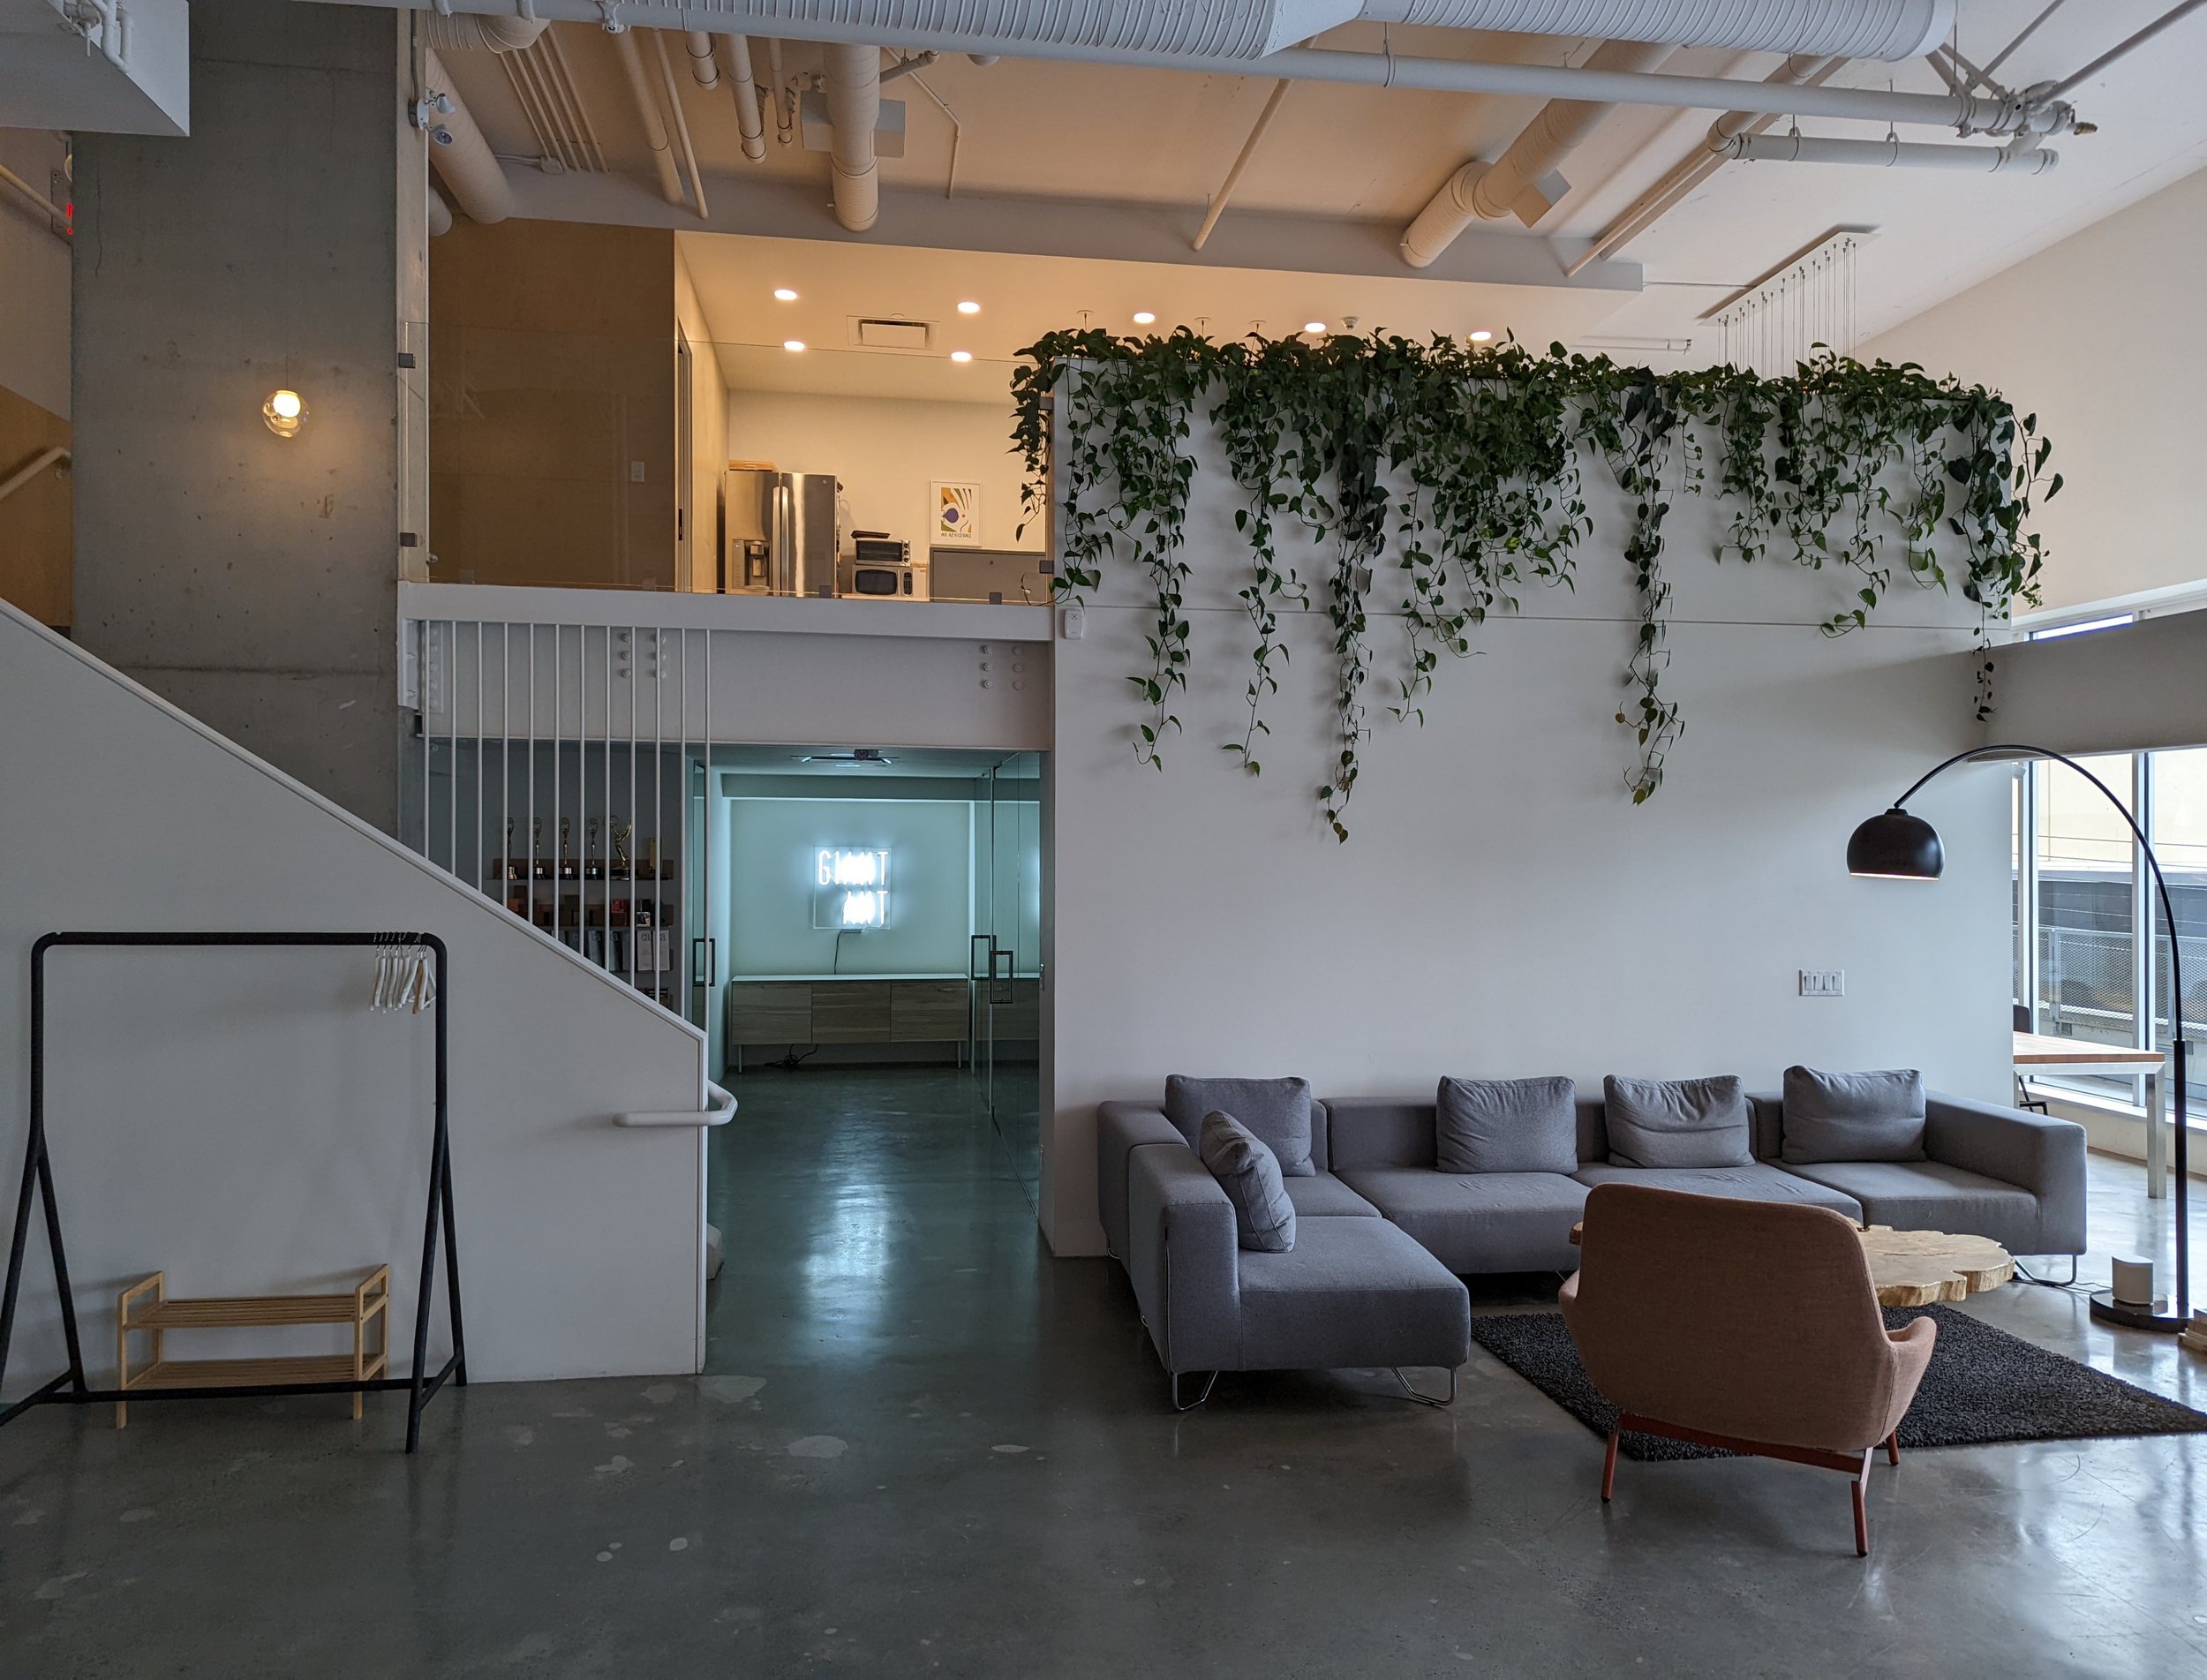
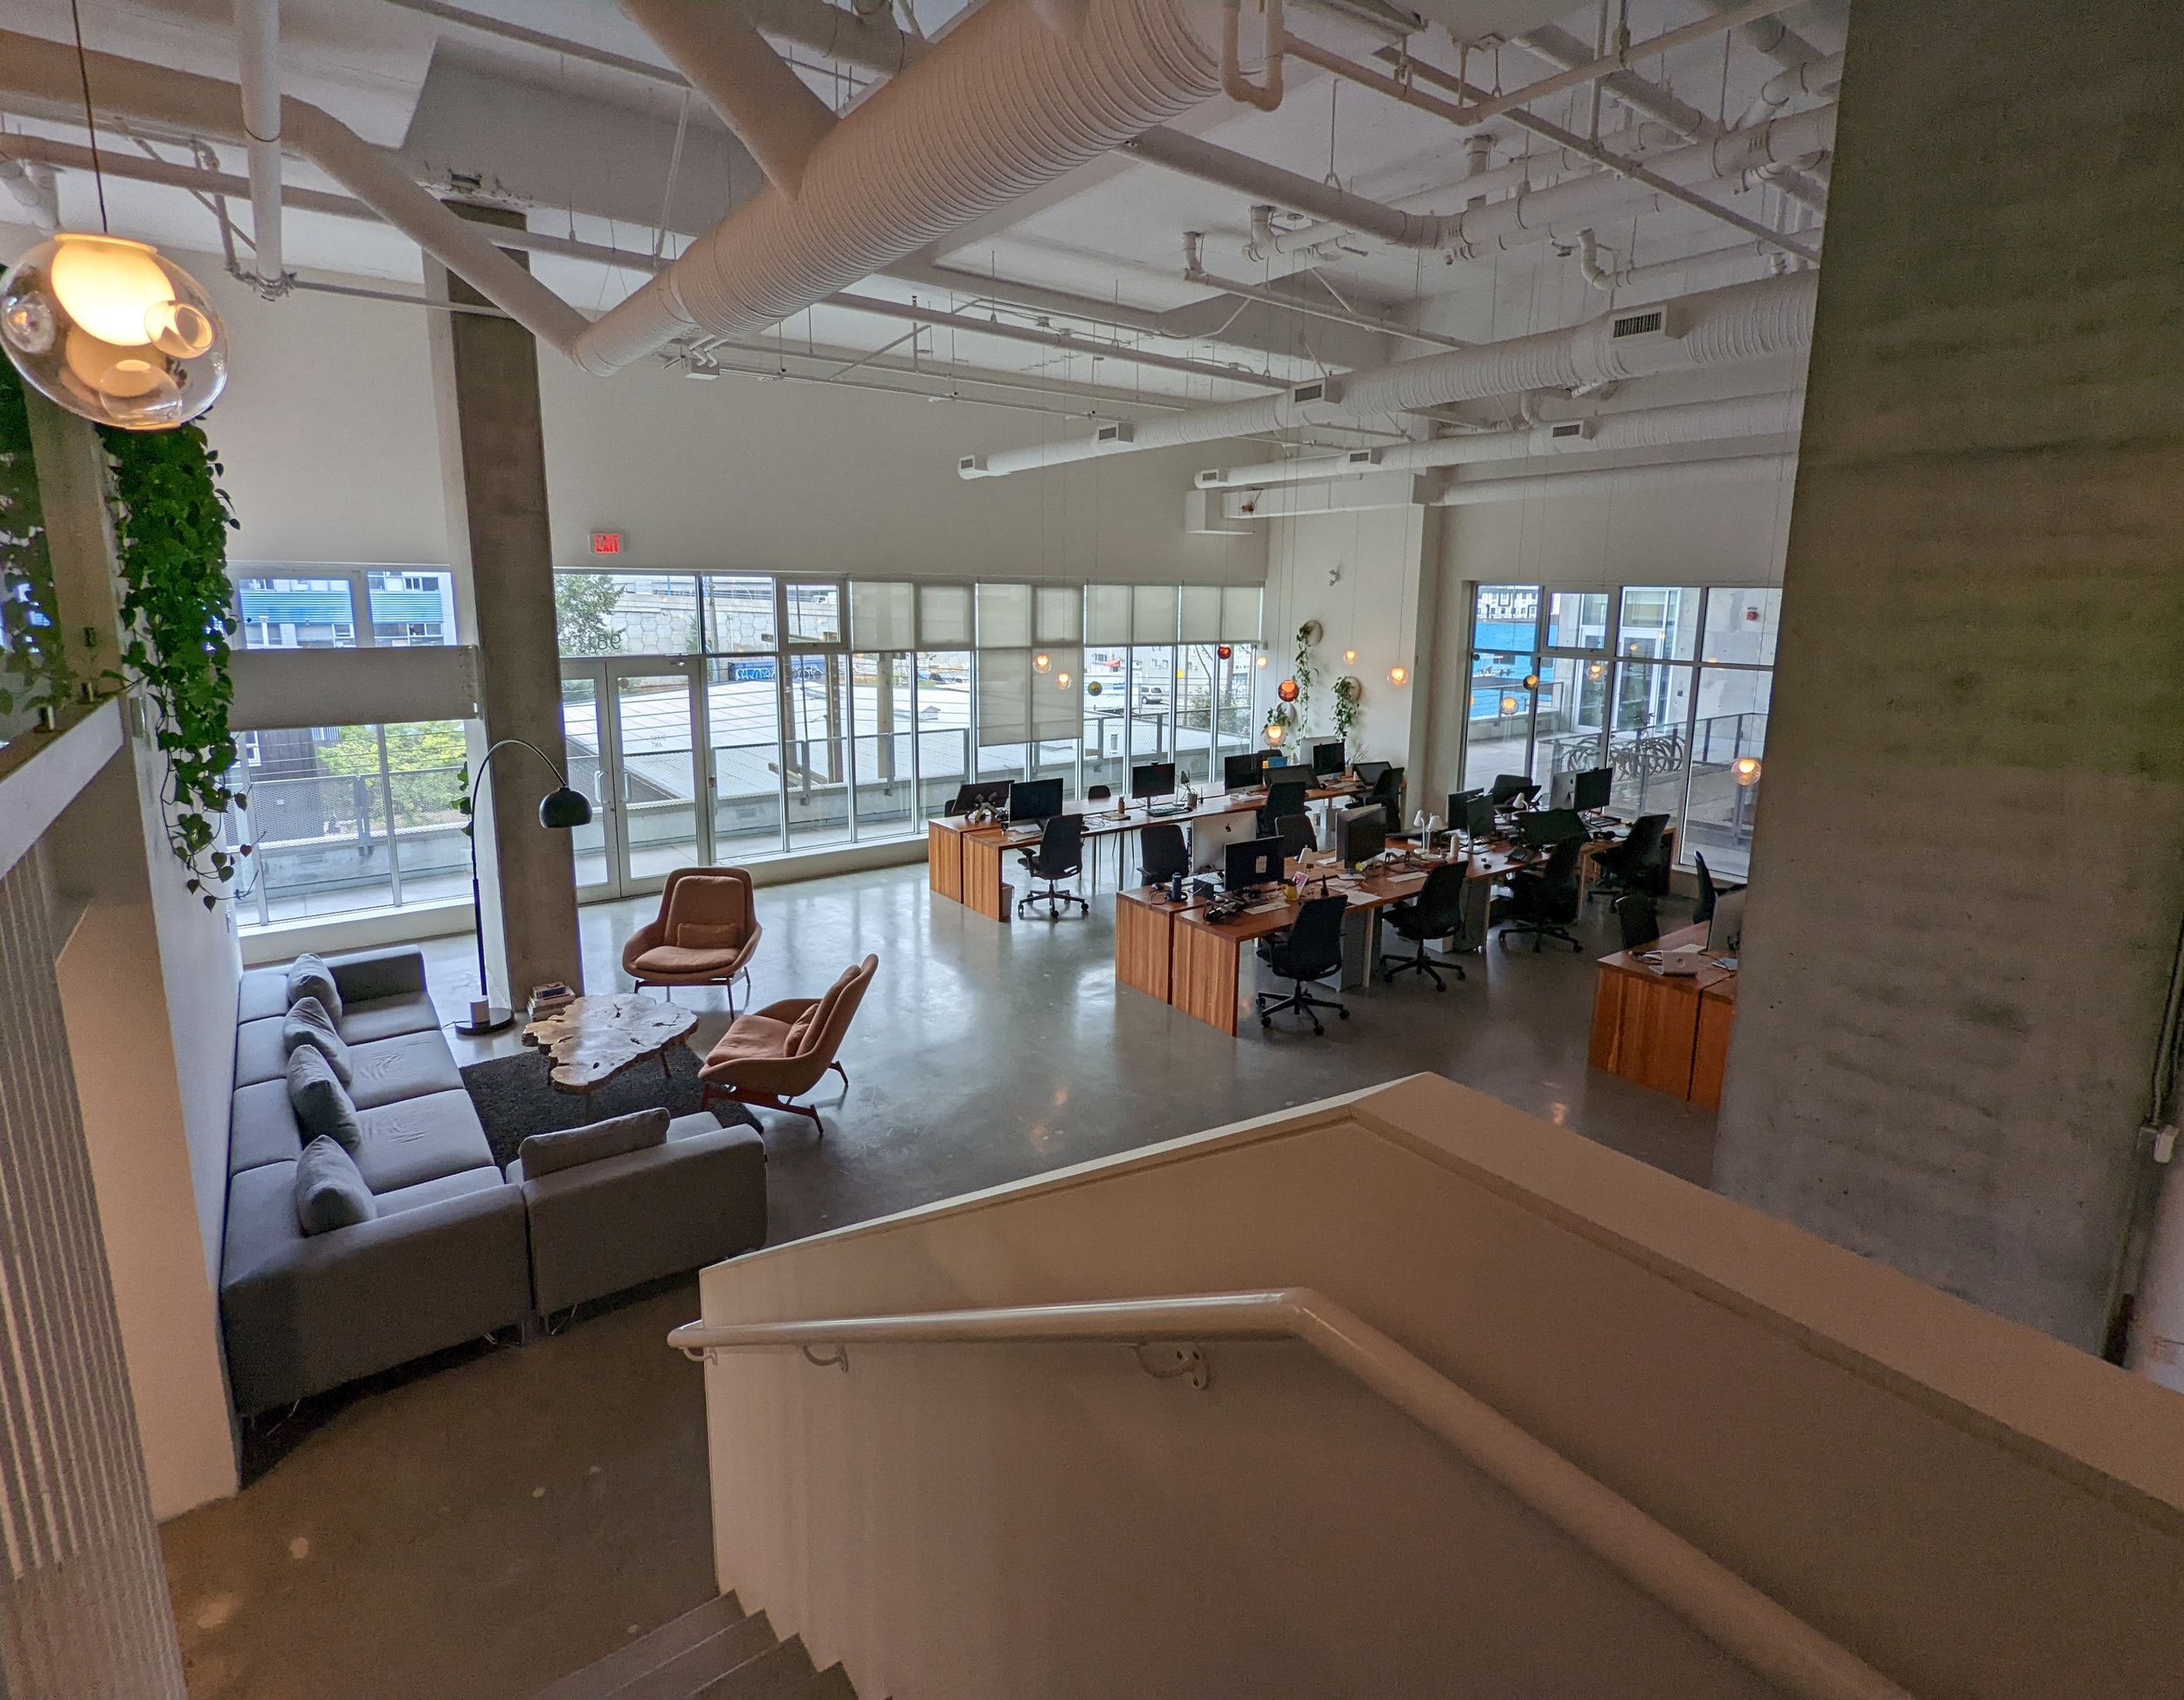

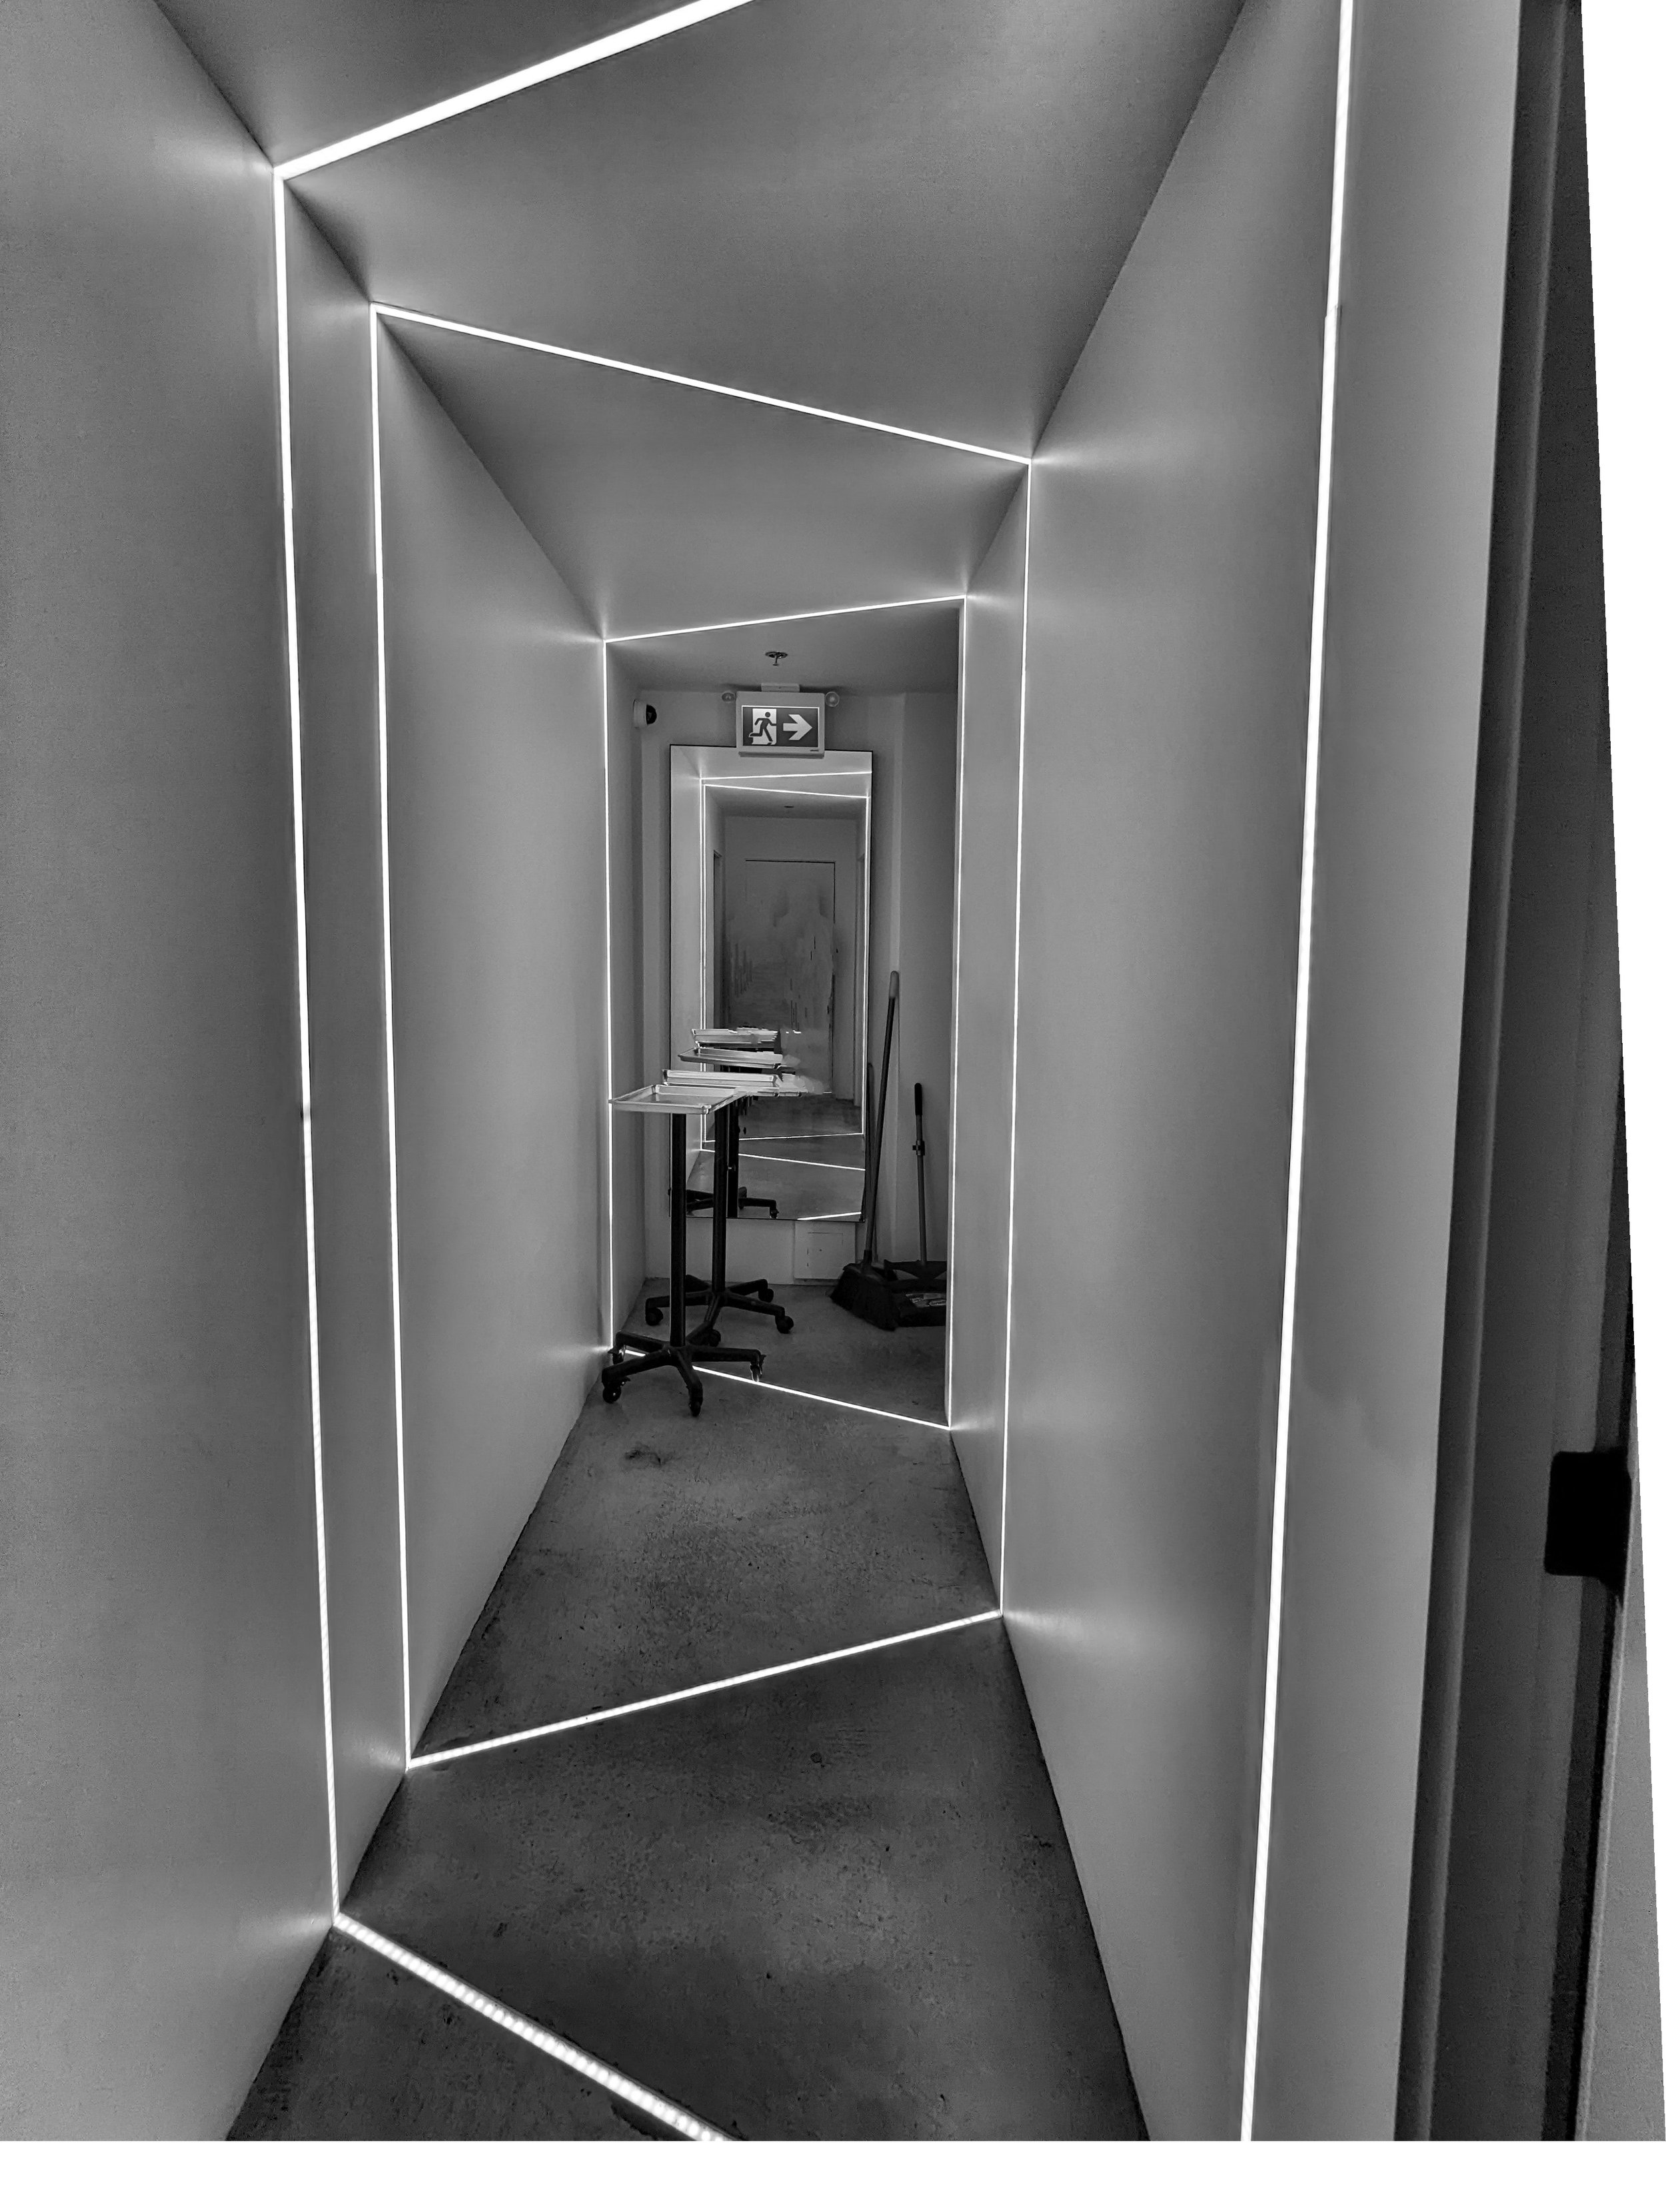
-Adam
September 7, 2022
new MIXED USE building - revelstoke
Our designers have been busy plugging away on a few new projects in Revelstoke. Below is a rendering of the newest Development Permit we've put in for review with the city of Revelstoke.

Photo from June 2021

New Mixed Use Development in Revelstoke - Rendering
Keefer Lake Lodge:

Photo: Keefer Lake Lodge

Photo: Keefer Lake Lodge
REVIT, NOT JUST FOR BREAKFAST ANYMORE - PART 2
When a colleague contacted me about helping him out with a project being produced in Solidworks, I was doubtful that I would be able to provide any assistance, as my Solidworks knowledge is quite minimal. After doing some research, I found a way to export 3D data from Revit, into Solidworks. and still maintain a quality model to then use and manipulate in Solidworks.

After some trial and error, I was able to produce desirable results that were imported into the Solidworks model for the agricultural machine below.

Photo of completed Solidworks assembly of the agricultural machine partially modeled in Revit.
-Adam
December 8th, 2015
Revit, not just for breakfast anymore - Part 1
Twice now I've opened up Revit to model something that is simply just not meant to be made with this software. The ideal program would be Solidworks, or inventor, but since Revit is my first language, I took a stab at 3D modeling it with this building design software. Both times I did this, I spent too many hours fiddling around with workarounds, and cheats to make the project look right within the limits of Revit, and both times I learned a lot from the process about Revit.
Case 1. Longboard Design.

This project was a big challenge. I wanted to create a complex board shape that would create more grip for the person riding the board. After many hours of tweaking the shape, I came to this shape. It was an overly complex W shaped concave longboard with wheel wells for larger wheel clearance. Since there were some issues with cutting voids out of very small parts (smaller than a 1/16") Revit did't like it, and this model never went to production. The production mold for this board ended up being created by the manufacturing company, and they probably used Solidworks. The one workaround that I thought about was just to scale everything up, maybe just make it all in meters, then scale the whole surface file down once it's exported? I never did end up trying this process with this project since it would mean recreating the entire model from scratch. The next project like this was a different story though.

Photo from 2012 of me racing on a prototype board. Photo Delgado.
-Adam
August 27th, 2015
INTRODUCING AUTODESK STINGRAY
Image from http://autodesklivedesign.com/
Autodesk has announced a new interface software that streamlines the Revit to 3DS Max interface, as well as a development tool for game developers that aren't very technically savvy with developing code. If you look closely at the introduction video on the Autodesk website they are using a PLACE architects model, that we helped build with the good people over at PLACE architects. Very exciting! See the excerpt below from the Autodesk website.
Game engine and design visualization software
View images of Stingray, a 3D game engine that helps advanced and novice game makers create visually stunning games. Stingray is also a real-time rendering engine that helps design professionals better visualize their projects and present their ideas to clients. Stingray is integrated with 3ds Max, Maya, and Maya LT software.

Salt in Stingray Image from http://autodesklivedesign.com/
-Adam
August 11th, 2015
REVIT: Edit Sketch Troubleshooting
When editing the footprint of a floor sometimes we get the dreaded warning; “Lines must be in closed loops. The highlighted lines are open at one end.”

Although Revit will highlight the issue with the sketch, it only will highlight one problem, then after you fix it, there may be many more. Often the sketches we are making are quite complex, and may have many incomplete segments. If you hover over one of the lines of your sketch and tab through until the entire sketch is highlighted you will see this or something similar:

Revit will show a joined intersection with an empty circle, and an incomplete intersection with a filled circle. So look for the filled circle(s), use a trim command, or zoom way in and connect the dots.
Updated:
One last thing to check is that the there aren't any line segments hiding behind the selected ones. To do this tab select all the segments again, and use the cut command (ctrl+x). Now look for any sketch lines that were left behind. If there were any, delete them. Use the paste to same place command, and finish your sketch.
-Adam
July 6th, 2015
Updated December 3rd, 2015
Imported CAD files with Hatch patters look like "Dog's Breakfast"
Sometimes when I'm importing new CAD files from other consultants, there are other hatch patterns in the file that require some cleanup to get the imported file to a usable place. These hatch patterns are sometimes on a variety of different layers, making the task of cleaning up the CAD file a lengthy one.
I've found a workaround, that makes this job a bit easier, and way faster than selecting the layers, and hiding them in view.
Here's what you do:
Select the imported CAD file in a view in Revit, and right click on it, and select "override graphics in view", then "by element".
Set the surface transparency to 100% and click okay.
Now you should have an easier time working with the file. One thing to note is, that this only works for hatch patterns in the AutoCAD file. If the items that are showing up solid in your view, are actually solid objects in AutoCAD, then you'll have to manually delete the solids in the AutoCAD file using the "quickselect" command.
-Adam
June 18th, 2015